
How to Flush Your Water Heater at Home
Flushing a water heater is one of the simplest maintenance tasks a homeowner can do, and it is also one of the most overlooked. Sediment builds up quietly inside the tank over months and years, and by the time it starts causing noise, reduced hot water, or higher energy bills, the buildup has usually been accumulating for a while. A yearly flush, or twice a year in a hard water area like the Phoenix Valley, keeps your unit running efficiently and helps it last as long as it is designed to.
This guide walks through the full process step by step, covers the safety precautions worth knowing before you start, and explains when the smarter move is to call a licensed technician instead. For a professional flush or a full inspection, call Zoom Drain Phoenix at (602) 613 1114 or book online.
Why Flushing Your Water Heater Matters
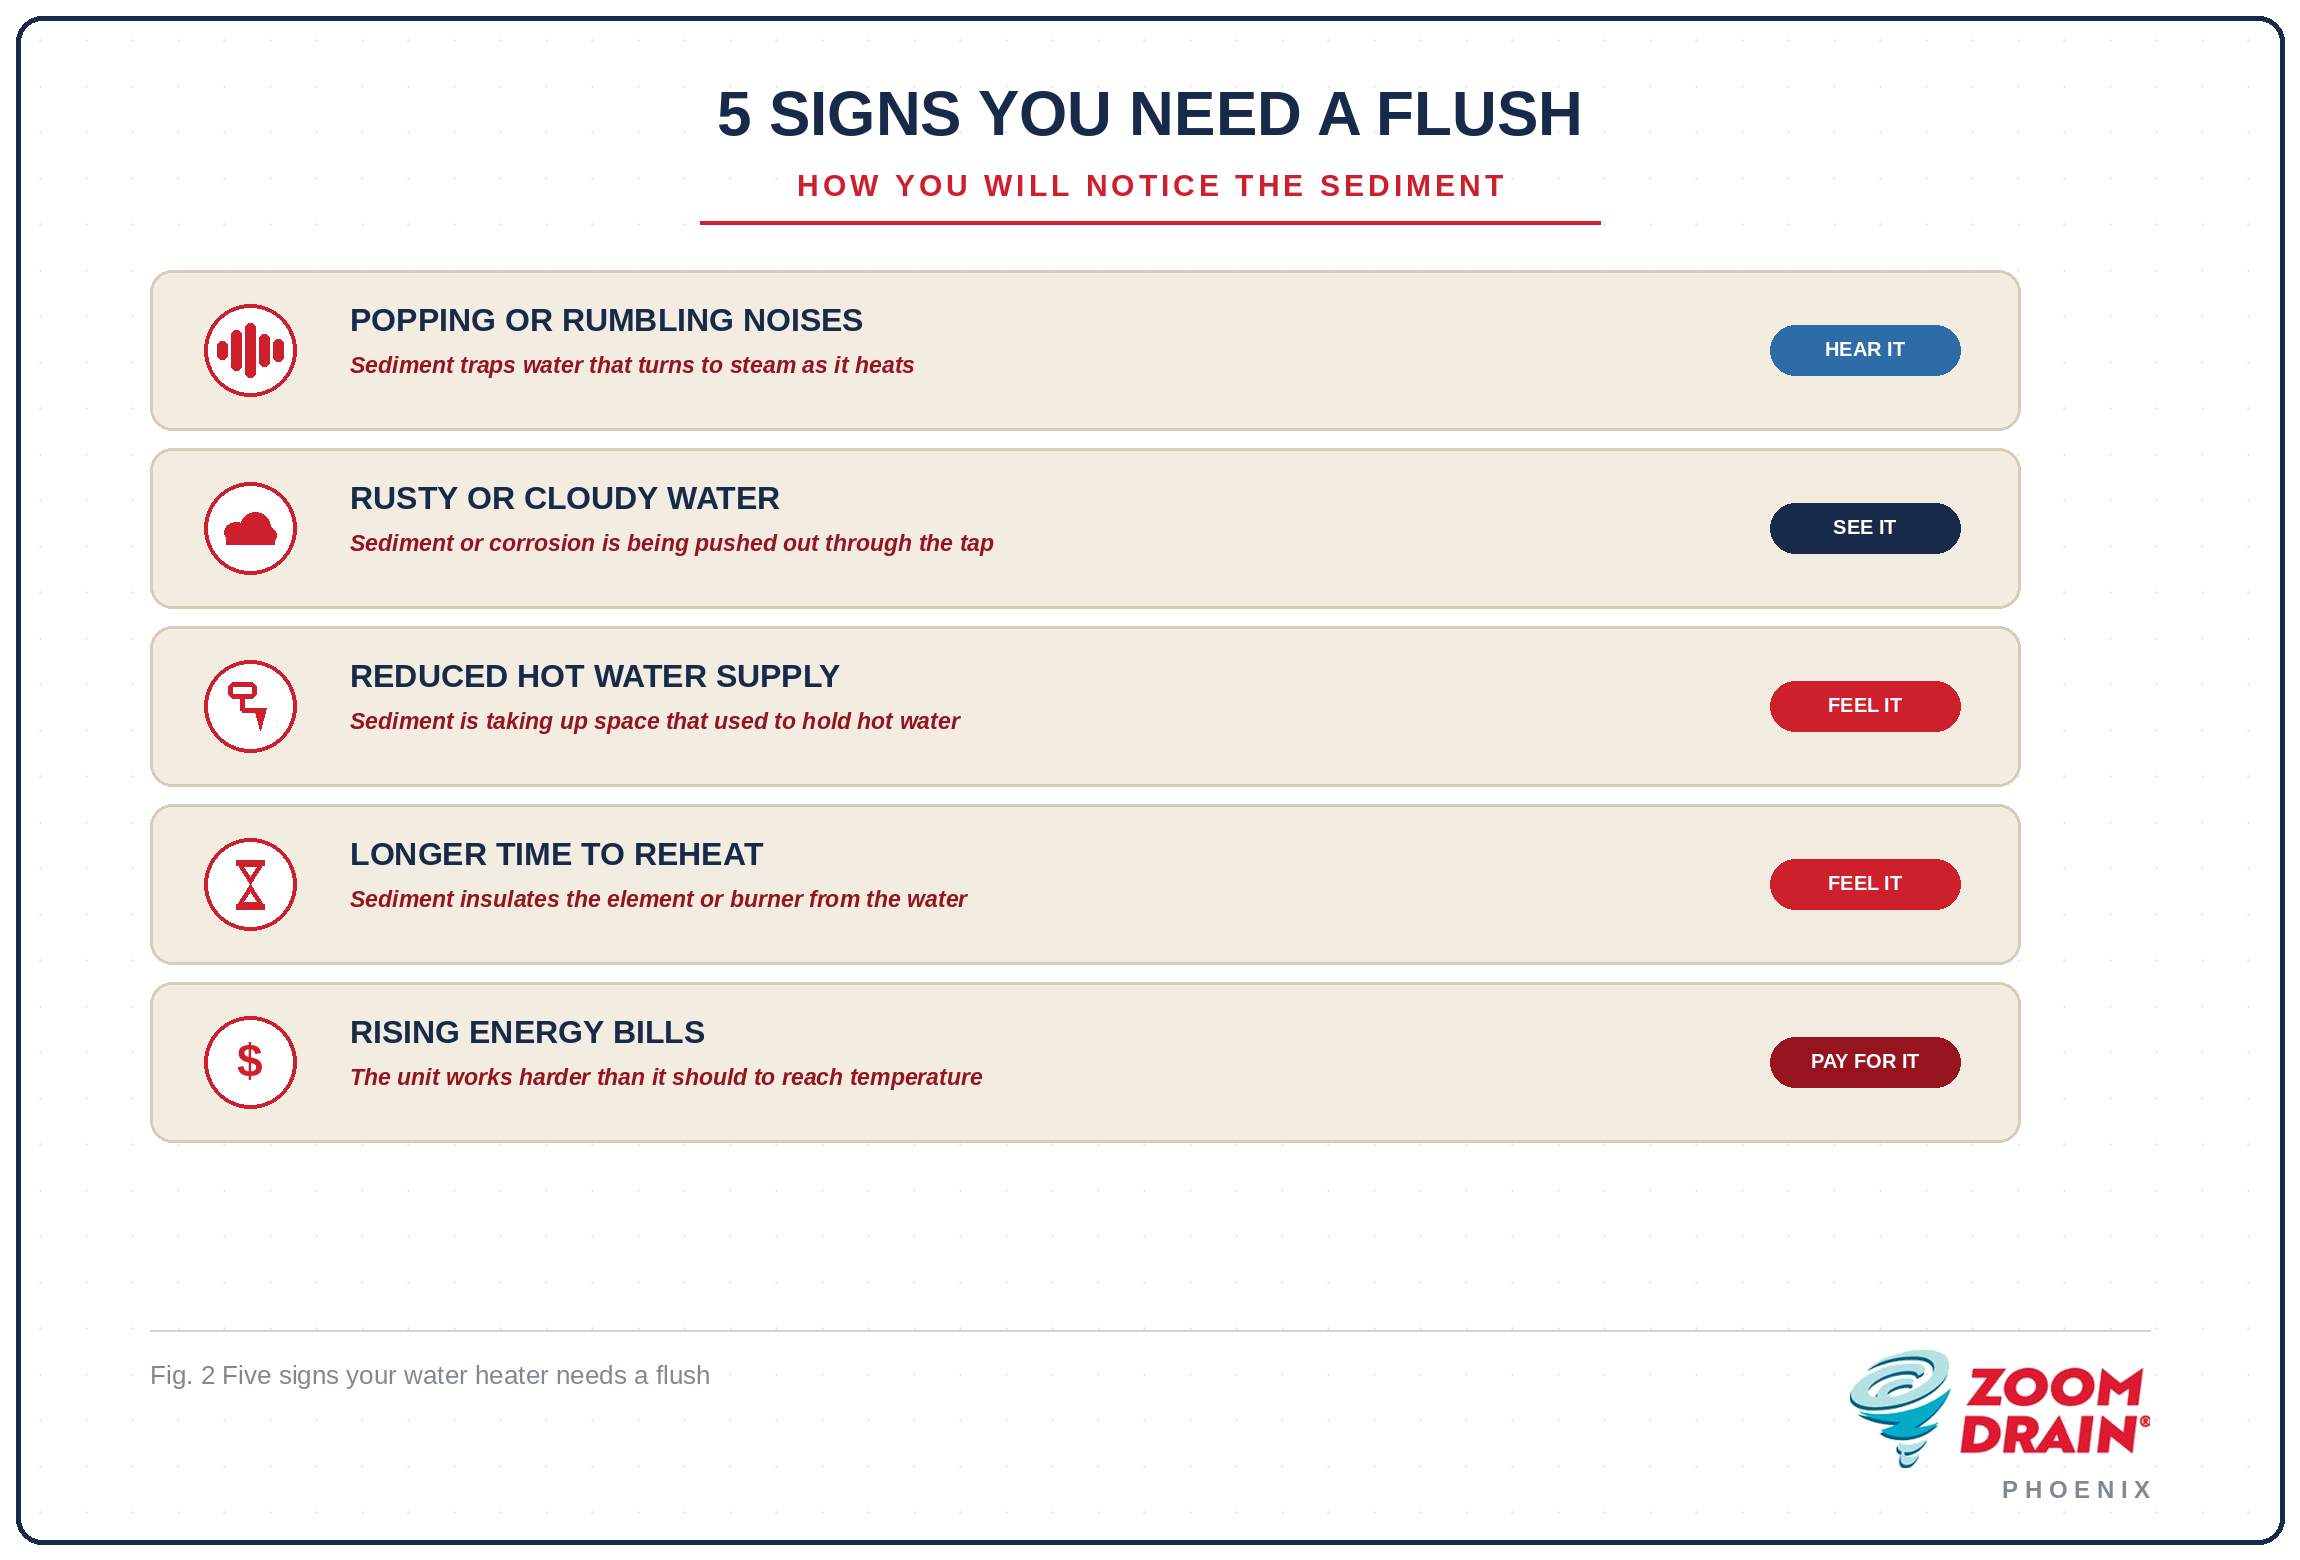
Every time water is heated, dissolved minerals separate out and settle at the bottom of the tank. Over time this sediment layer hardens, insulating the water from the heating element or burner and forcing the unit to work harder to reach the same temperature. That extra effort shows up on your energy bill, shortens the life of the tank, and can eventually lead to strange noises or a unit that runs out of hot water faster than it used to.
Regular flushing clears that sediment out before it becomes a real problem. It is inexpensive, takes less than an hour in most homes, and is one of the few maintenance tasks that meaningfully extends the life of a water heater rather than simply keeping it running day to day.
Beyond efficiency and lifespan, a clean tank also affects the quality of your water day to day. Sediment that has built up for years can break loose on its own and travel through your pipes, showing up as gritty or discolored water at the faucet even when nothing else has changed. Keeping the tank flushed on a regular schedule avoids that surprise and keeps water quality consistent throughout the home.
What You Will Need
A basic flush requires only a few items most homeowners already have on hand: a garden hose long enough to reach a drain or the outdoors, a flathead screwdriver or adjustable wrench for the drain valve, a bucket for any spillover near the valve, and work gloves, since the drain valve and any spilled water can be quite hot. Having everything ready before you start keeps the process quick and avoids leaving the tank half drained while you search for a tool.
Step by Step: How to Flush a Tank Water Heater
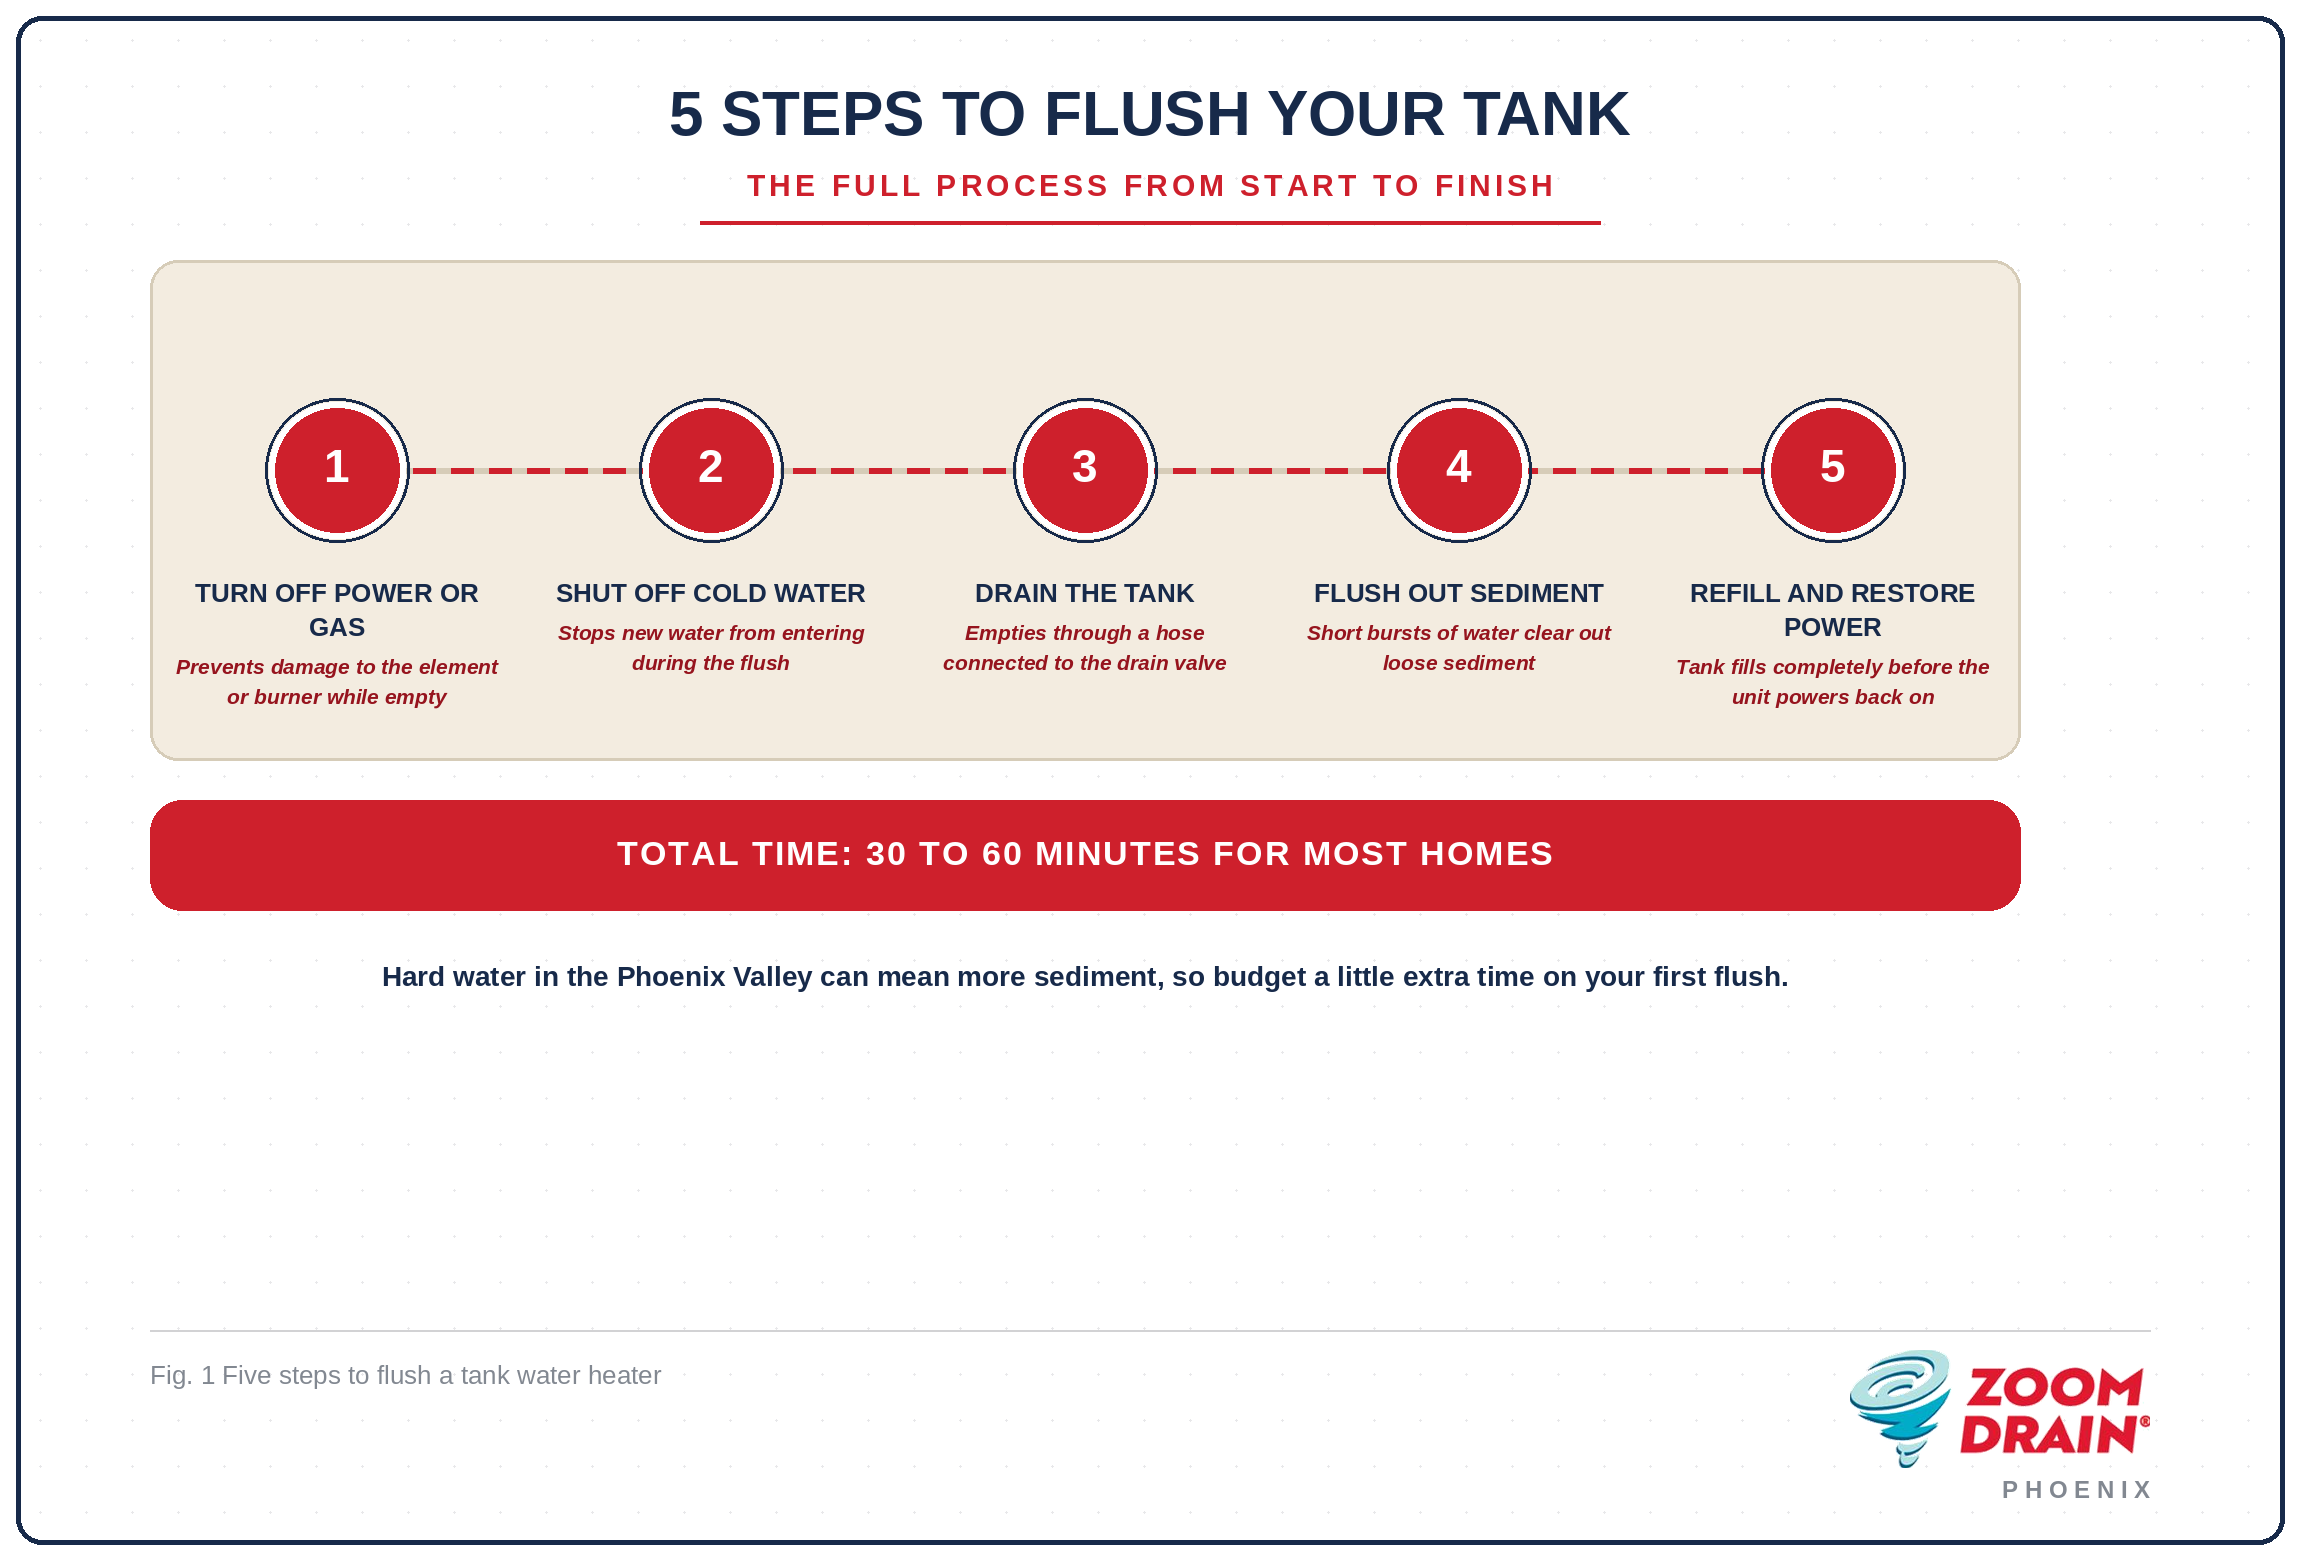
Step 1: Turn Off the Power or Gas
For an electric unit, switch off the breaker dedicated to the water heater so the heating element cannot activate while the tank is empty, which can damage it. For a gas unit, turn the thermostat knob to the pilot setting rather than shutting off the gas supply entirely, unless you plan to relight the pilot yourself afterward.
Step 2: Shut Off the Cold Water Supply
Locate the cold water inlet valve, usually on top of the tank, and turn it to the closed position. This stops new water from entering while you drain and flush the old water out.
Step 3: Connect a Hose and Drain the Tank
Attach a garden hose to the drain valve near the bottom of the tank and run the other end to a floor drain, a bucket, or outside. Open the valve with a screwdriver or by hand depending on the valve type, and let the tank drain completely. The water will be hot, especially at the start, so keep hands and skin away from the stream.
Step 4: Flush Out Remaining Sediment
Once the tank has fully drained, briefly reopen the cold water supply in short bursts. Each burst stirs up sediment that settled at the bottom and pushes it out through the hose. Let each burst drain completely before opening the valve again, and repeat until the water running out is clear rather than cloudy or gritty.
Step 5: Refill and Restore Power
Close the drain valve, disconnect the hose, and open the cold water supply fully to begin refilling the tank. Open a hot water faucet elsewhere in the home and leave it running until the water flows in a steady stream with no sputtering, which confirms the tank is full and the air has been purged from the line. Once that is confirmed, restore power at the breaker for an electric unit, or return the gas thermostat to your normal temperature setting and relight the pilot if needed.
Flush Steps at a Glance
How Often Should You Flush Your Water Heater
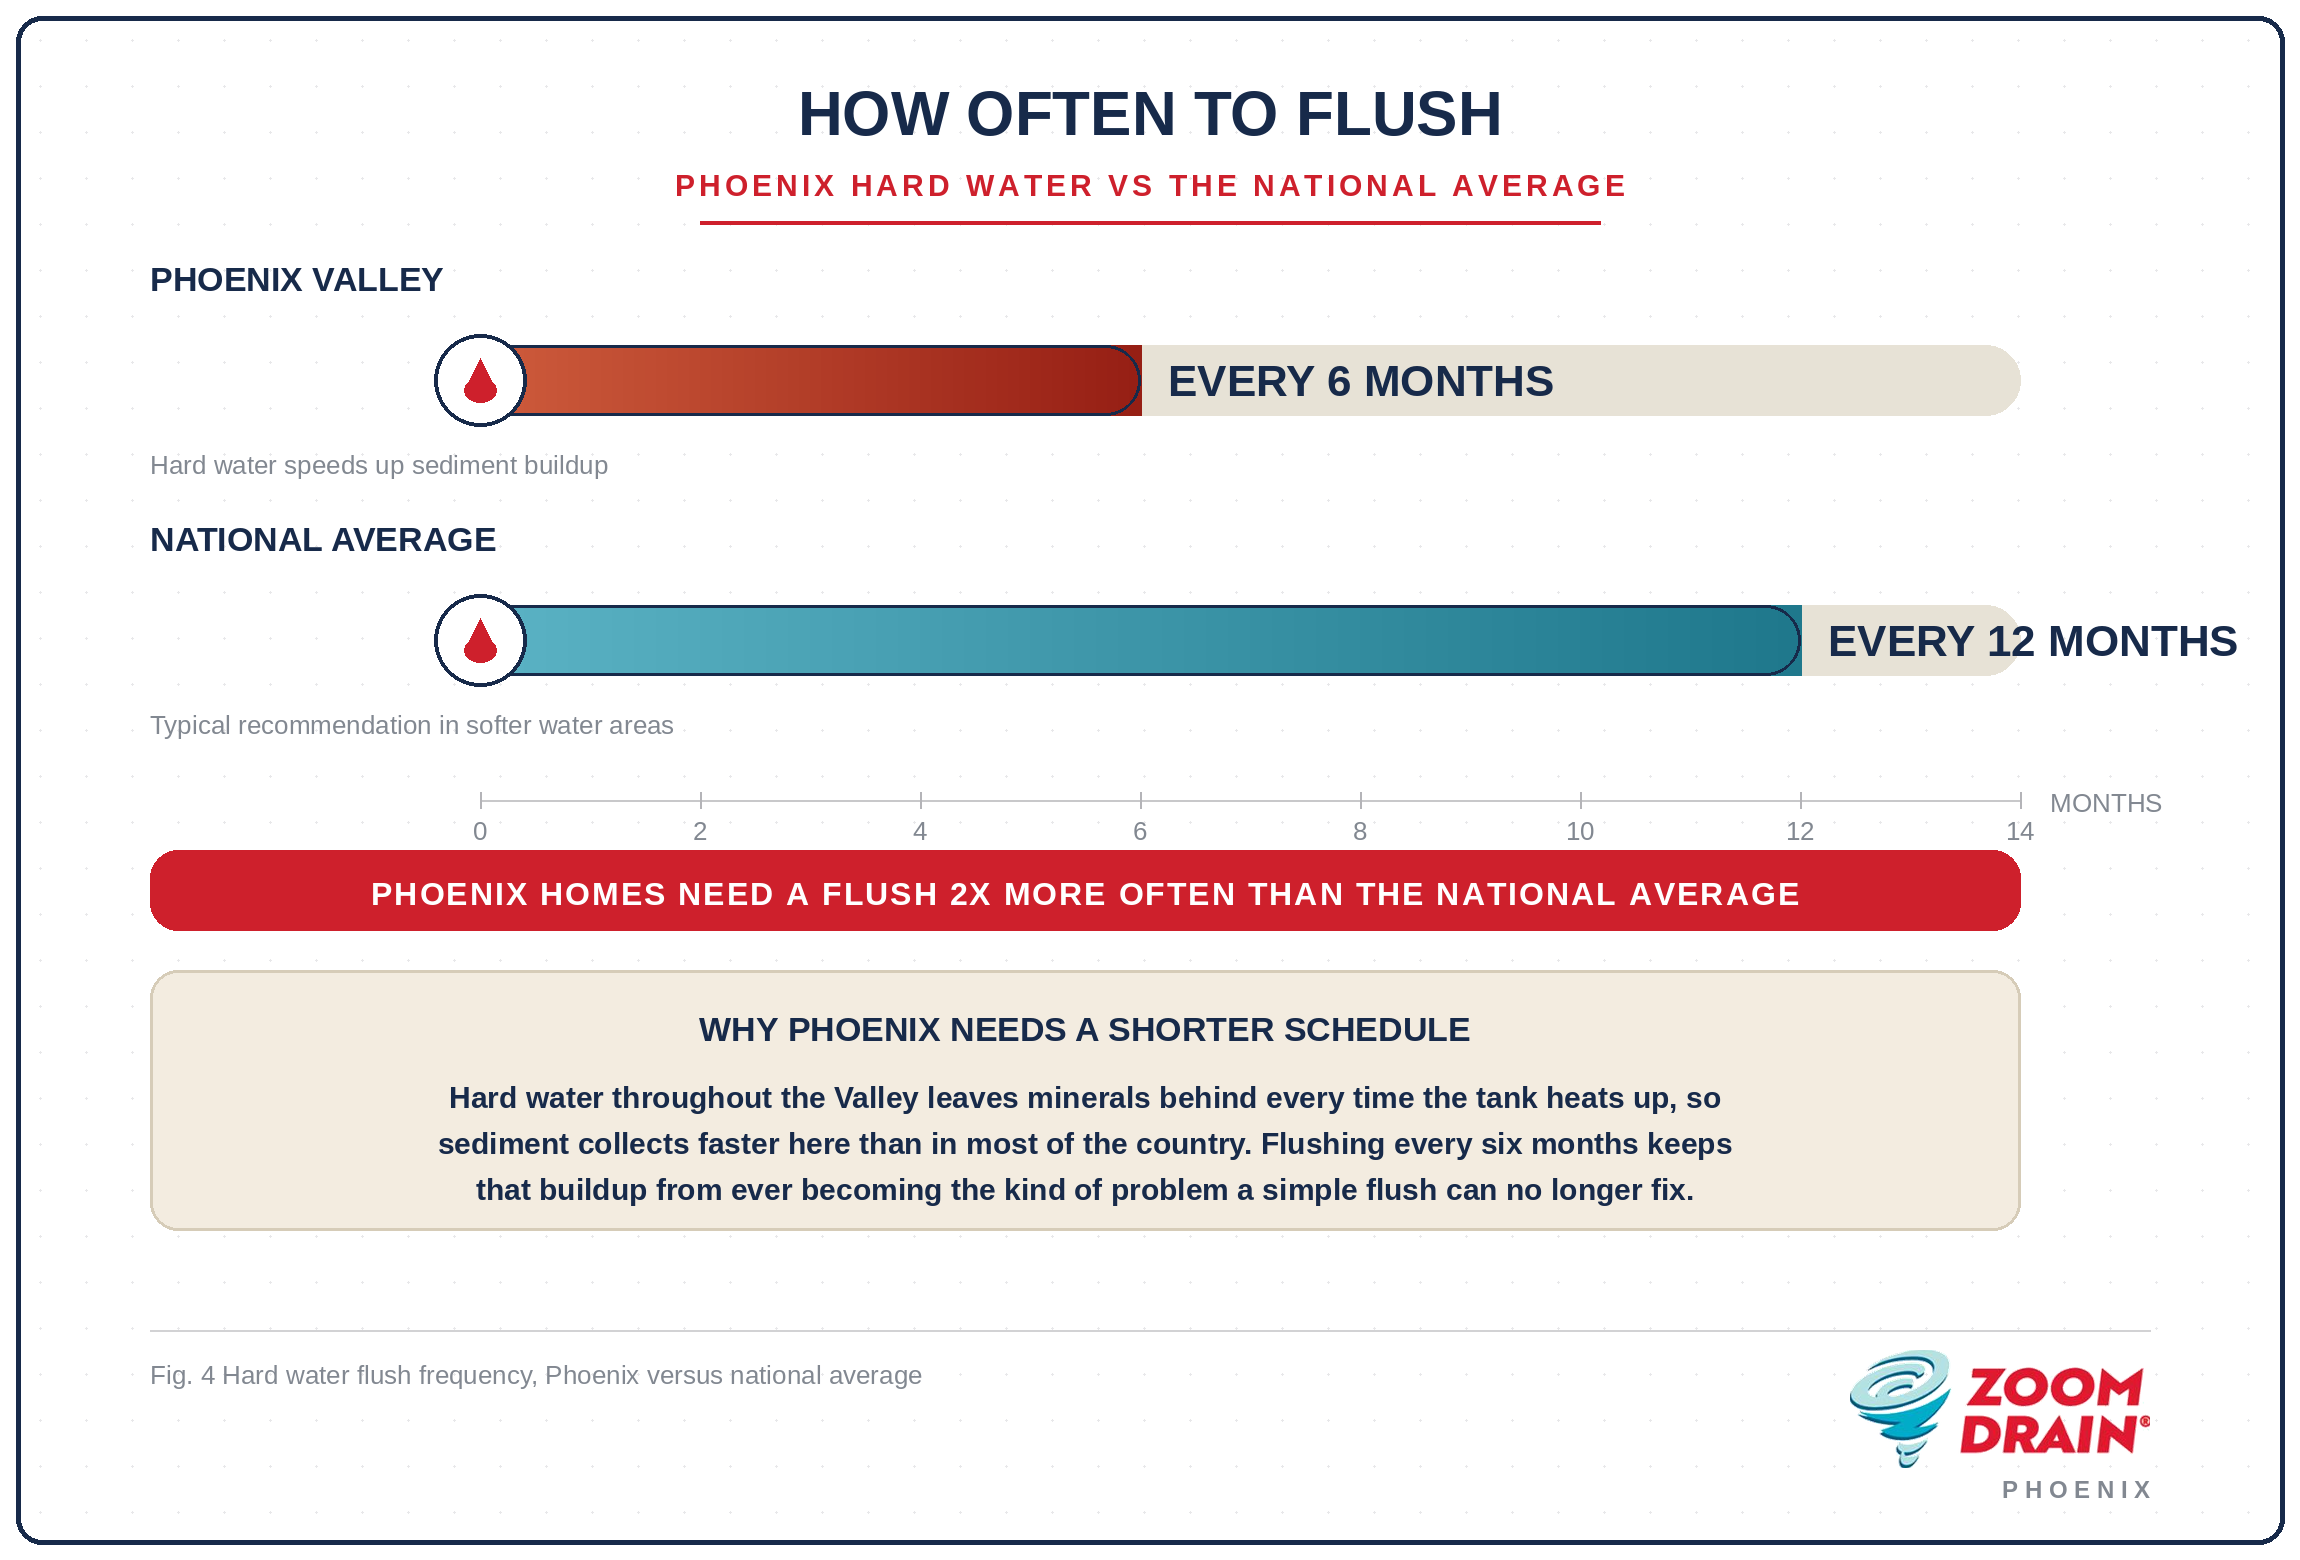
The right frequency depends heavily on your local water quality. In a hard water area, sediment builds up much faster, and flushing every six months keeps the tank from accumulating a heavy layer between services. In a soft water area, once a year is usually enough to keep the tank clear. Households with especially high hot water use, such as larger families or homes with multiple bathrooms running showers back to back, may benefit from flushing on the more frequent end of that range regardless of water hardness.
It also helps to think of flushing as a habit tied to a date you will actually remember, such as the start of daylight saving time or a birthday, rather than something you plan to get to eventually. Homeowners who set a recurring reminder are far more likely to stay ahead of sediment buildup than those who wait until a symptom, like noise or reduced hot water, forces the issue.
Signs Your Water Heater Needs a Flush
Flushing a Tankless Water Heater: What Is Different
Tankless units do not collect sediment at the bottom of a tank the way traditional units do, but the heat exchanger inside can still accumulate mineral scale over time, particularly in a hard water area. Rather than draining and refilling, tankless flushing typically involves closing the isolation valves on the unit, connecting a small pump to circulate a descaling solution, usually a mix of water and white vinegar, through the heat exchanger for about 45 minutes, then flushing the system with clean water before reopening the valves. Manufacturers generally recommend this service once a year, and skipping it can gradually reduce efficiency and shorten the life of the unit just as sediment does in a tank style heater.
Safety Precautions to Keep in Mind
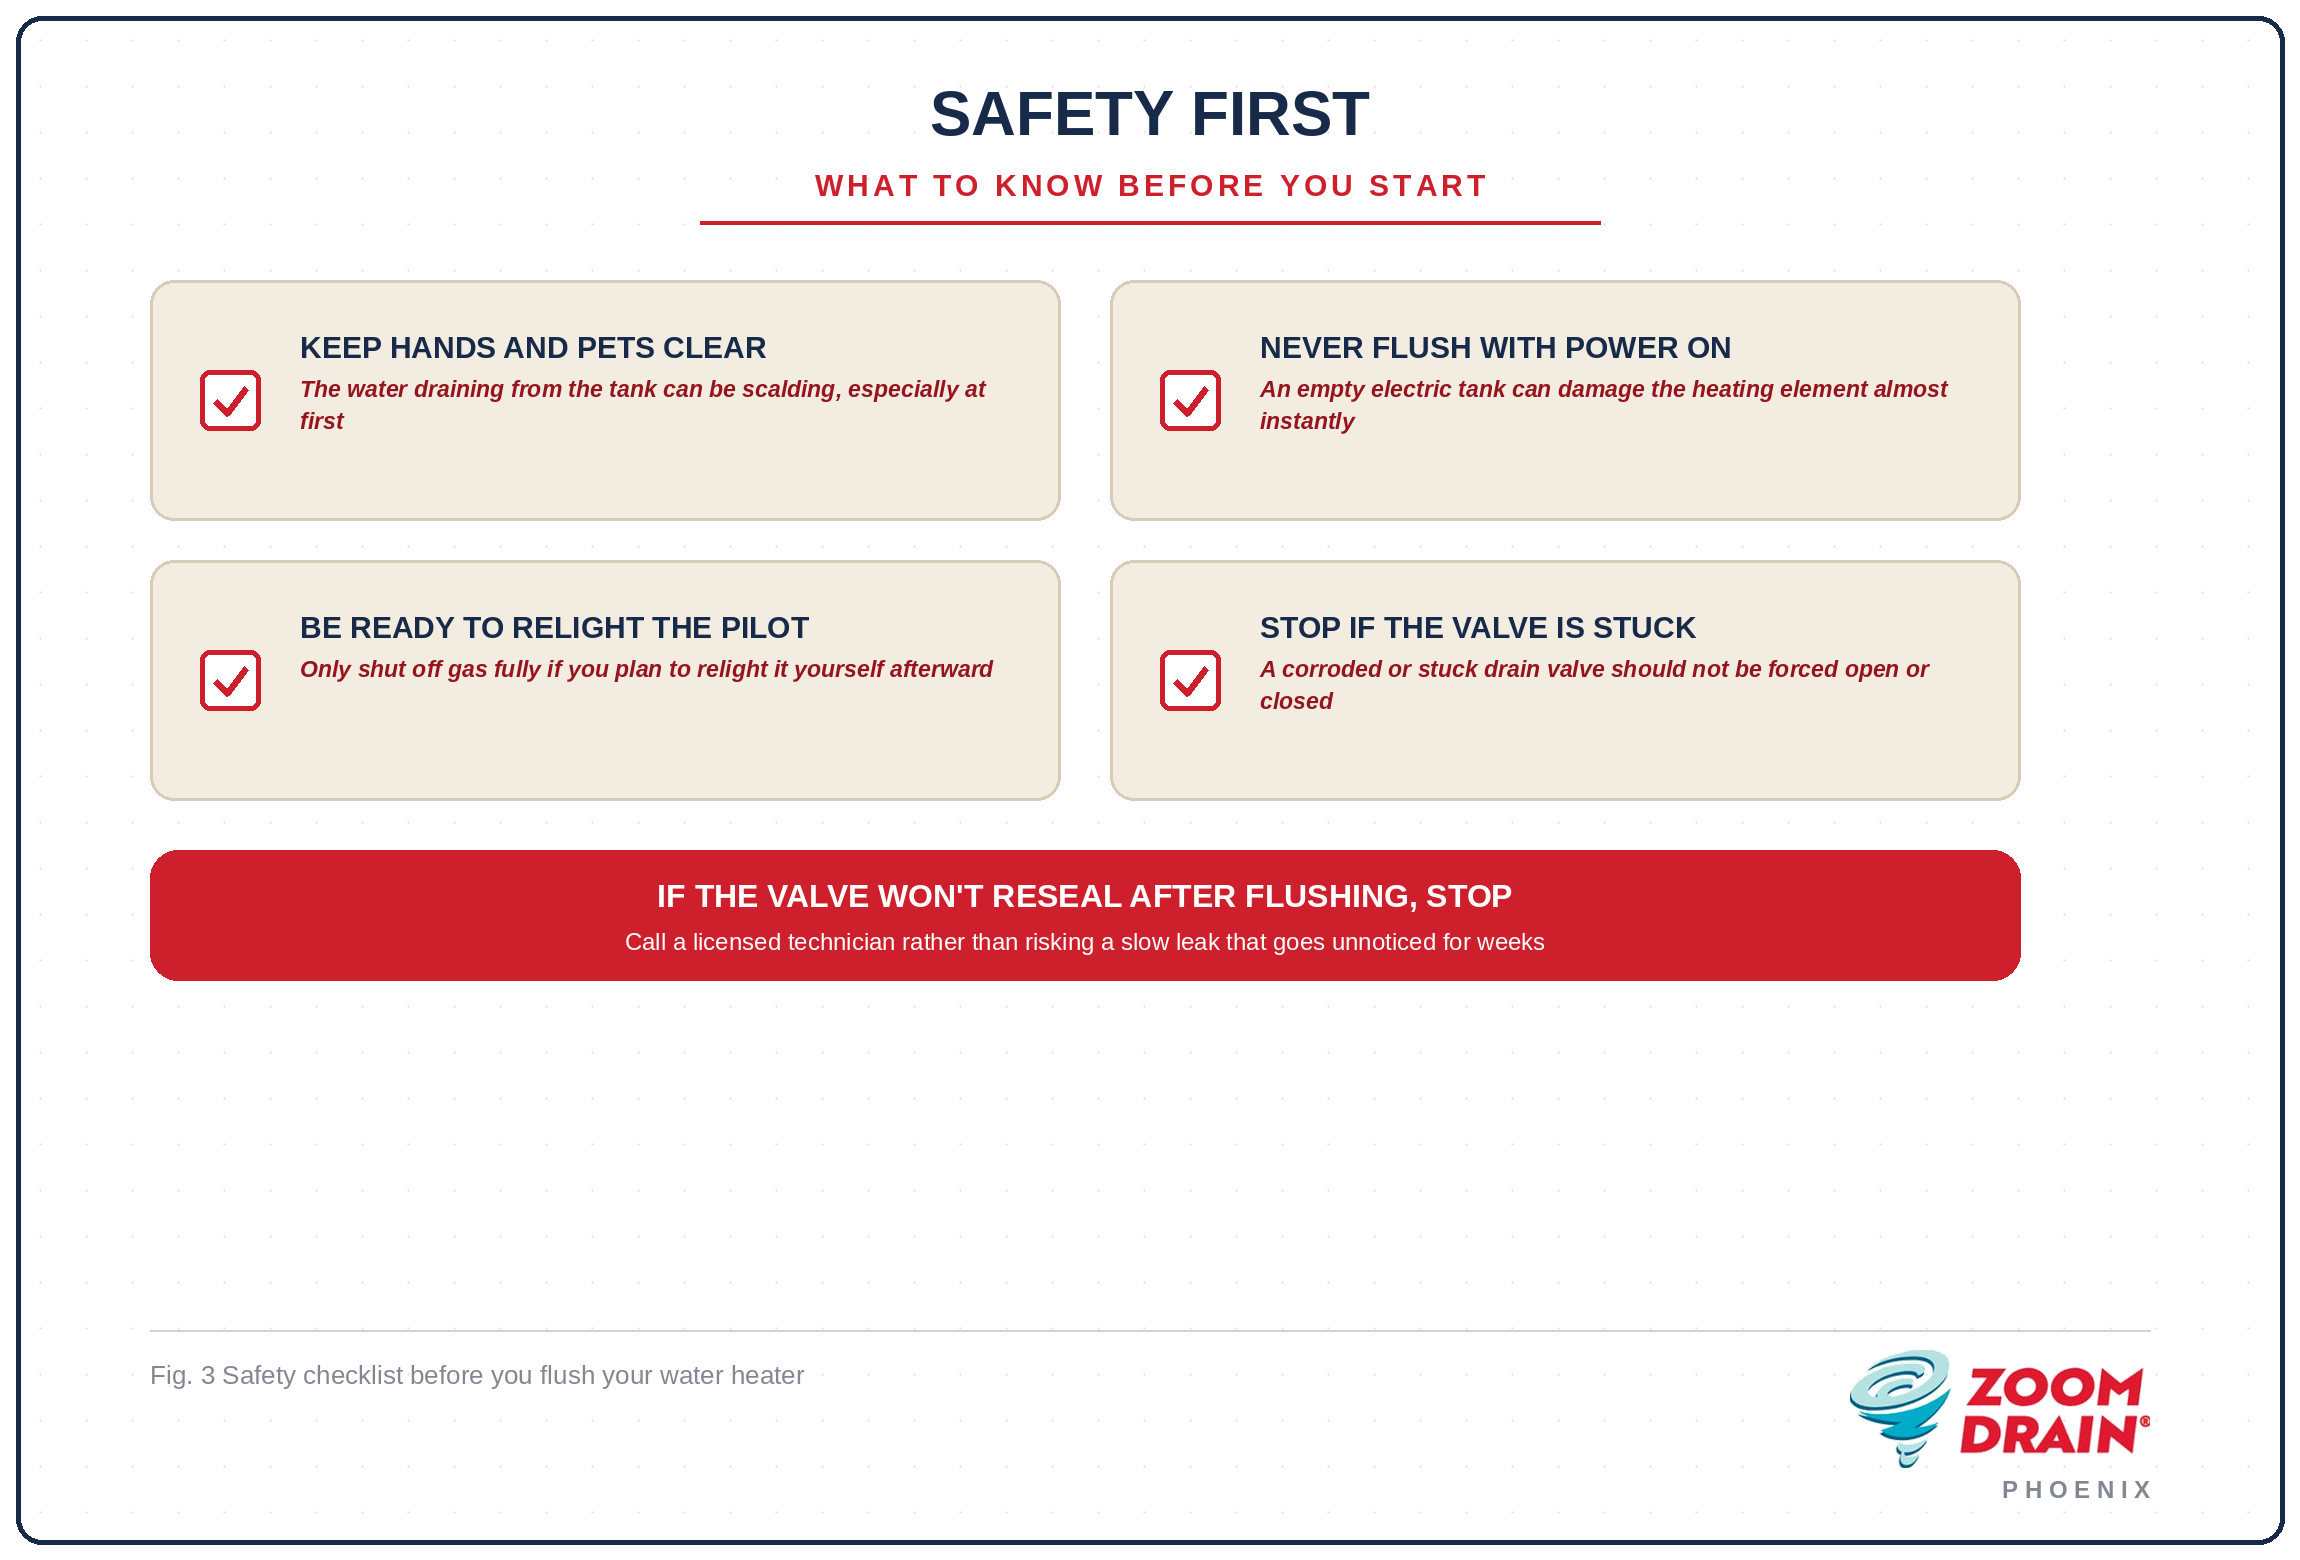
Flushing a water heater is a manageable do it yourself project for most homeowners, but a few precautions matter. The water draining from the tank can be scalding hot, particularly in the first several seconds, so keep hands, feet, and pets well clear of the hose and drain area. Never flush a unit while it is still receiving power or gas, since an empty electric tank can damage the heating element almost immediately, and never fully shut off gas to a unit unless you are prepared to safely relight the pilot afterward. If a drain valve feels stuck, corroded, or will not fully close again after the flush, stop and call a professional rather than forcing it, since a damaged valve can lead to a slow leak that goes unnoticed for weeks.
Why Phoenix Homeowners Need to Flush More Often
Water throughout the Phoenix Valley runs considerably harder than the national average, which means sediment accumulates in local tanks noticeably faster than it would in a home with soft water. A six month flushing schedule that might be considered aggressive elsewhere in the country is a reasonable baseline for most Phoenix area households, and homes that skip flushing entirely for several years often find a layer of sediment thick enough that a simple flush no longer clears it completely. In those cases, a professional descaling or, in more advanced cases, a full replacement may be the only real fix.
When to Call a Professional Instead
A straightforward flush is well within reach for most homeowners, but a few situations call for a licensed technician instead. If the drain valve will not open, will not close, or shows signs of corrosion, forcing it risks a leak or a valve that fails completely. If your unit has gone multiple years without a flush and you suspect heavy sediment buildup, a professional has tools to break up and clear scale that a simple hose flush cannot fully remove. And if you notice a leak, unusual smells, or your pilot light will not stay lit after a flush, those are signs of a larger issue that a routine maintenance flush will not solve on its own.
Frequently Asked Questions
Can flushing my water heater fix low hot water pressure?
If reduced pressure is caused by sediment buildup, a flush often restores normal flow. If the issue continues after a flush, the cause is more likely a clogged aerator, a failing valve, or a problem elsewhere in the plumbing system.
Is it normal for the water to look dirty during a flush?
Yes. Cloudy or slightly discolored water during the flush is expected, since you are clearing out sediment that has been sitting at the bottom of the tank. The water should run progressively clearer as the flush continues.
How long does flushing a water heater take?
Most tank flushes take between 30 and 60 minutes from start to finish, depending on the size of the tank and how much sediment has built up. Tankless descaling typically takes slightly longer due to the circulation time needed for the descaling solution.
What happens if I never flush my water heater?
Sediment will continue to build up indefinitely, gradually reducing efficiency, increasing energy costs, and shortening the life of the unit. In severe cases, heavy sediment can cause permanent damage that a flush alone can no longer reverse, making early replacement the only remaining option.
Do I need to flush a brand new water heater?
A newly installed unit does not need a flush right away, but it is worth starting the habit on a normal schedule from the beginning rather than waiting years for the first one. Homes in a hard water area especially benefit from getting ahead of sediment buildup before it ever becomes noticeable.
Get a Professional Flush or Inspection
Flushing a water heater is a manageable project, but if it has been more than a year since your last flush, or if you would simply rather leave it to a professional, Zoom Drain Phoenix technicians can flush your tank, descale a tankless unit, or inspect your system for any bigger issues while they are there. Call us today at (602) 613 1114 or book online for fast, flat rate service across the Phoenix metro.